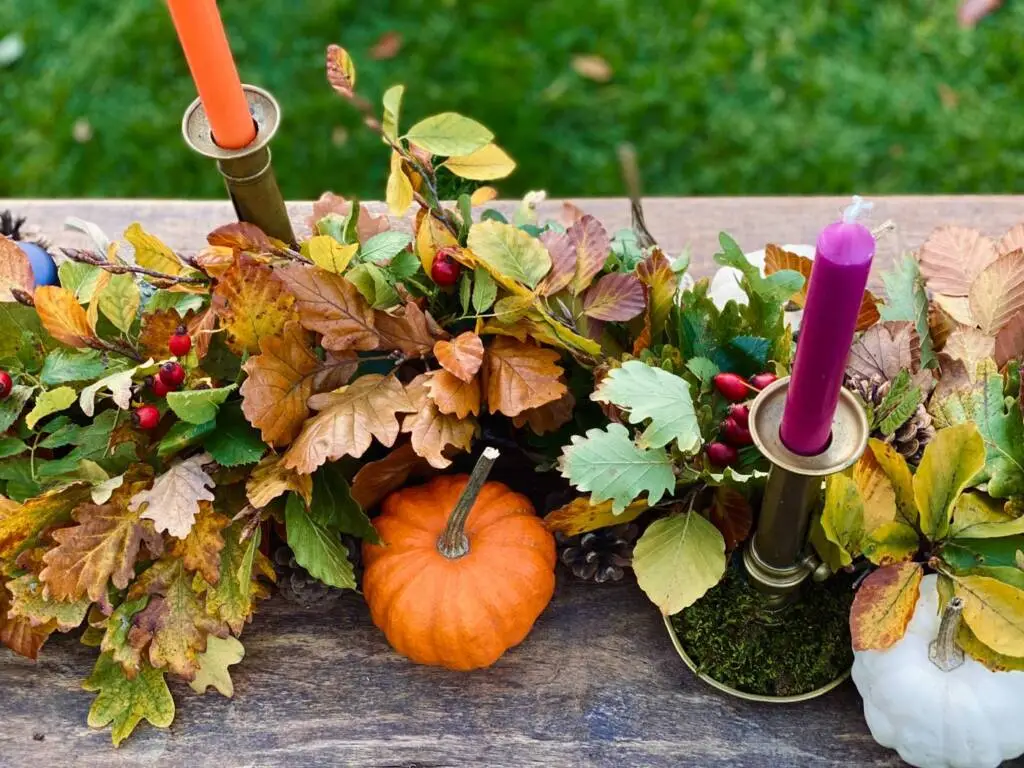
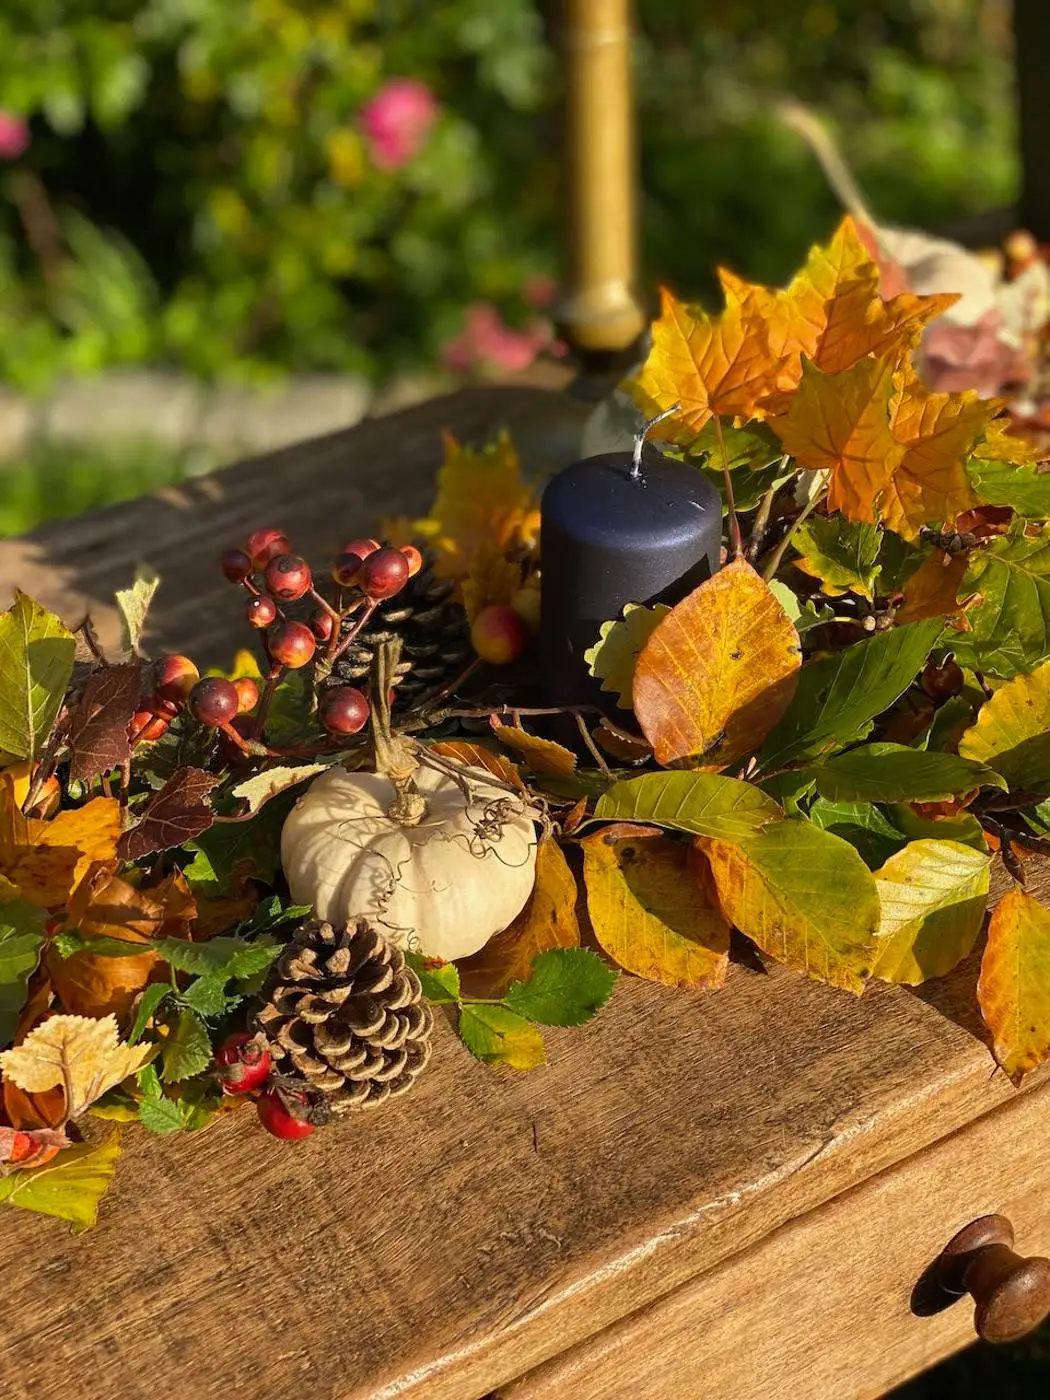
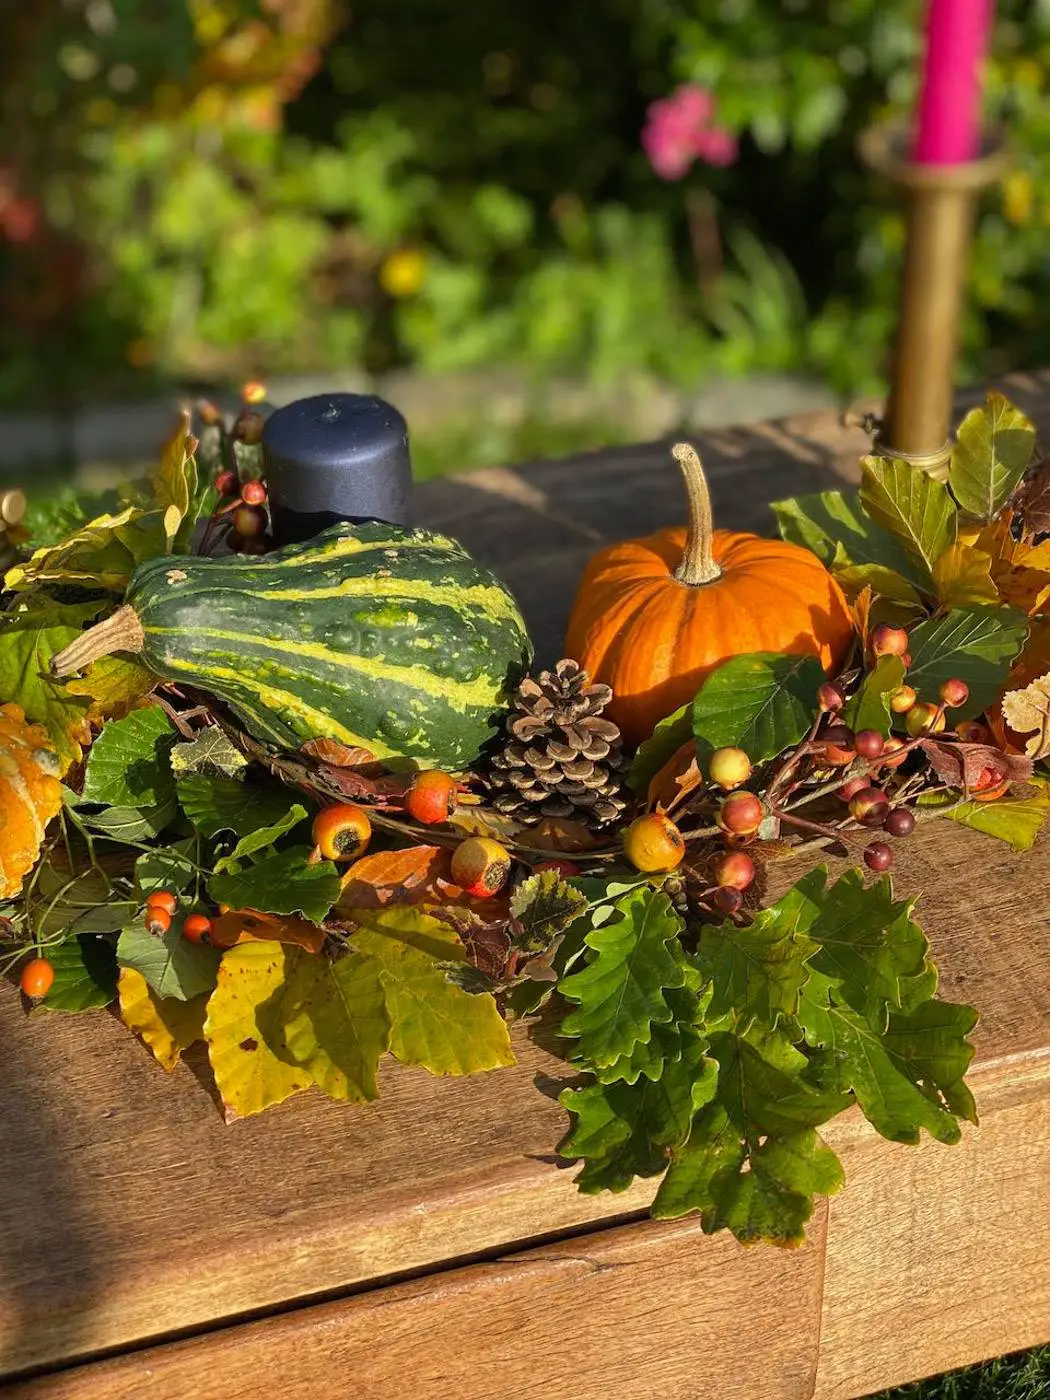
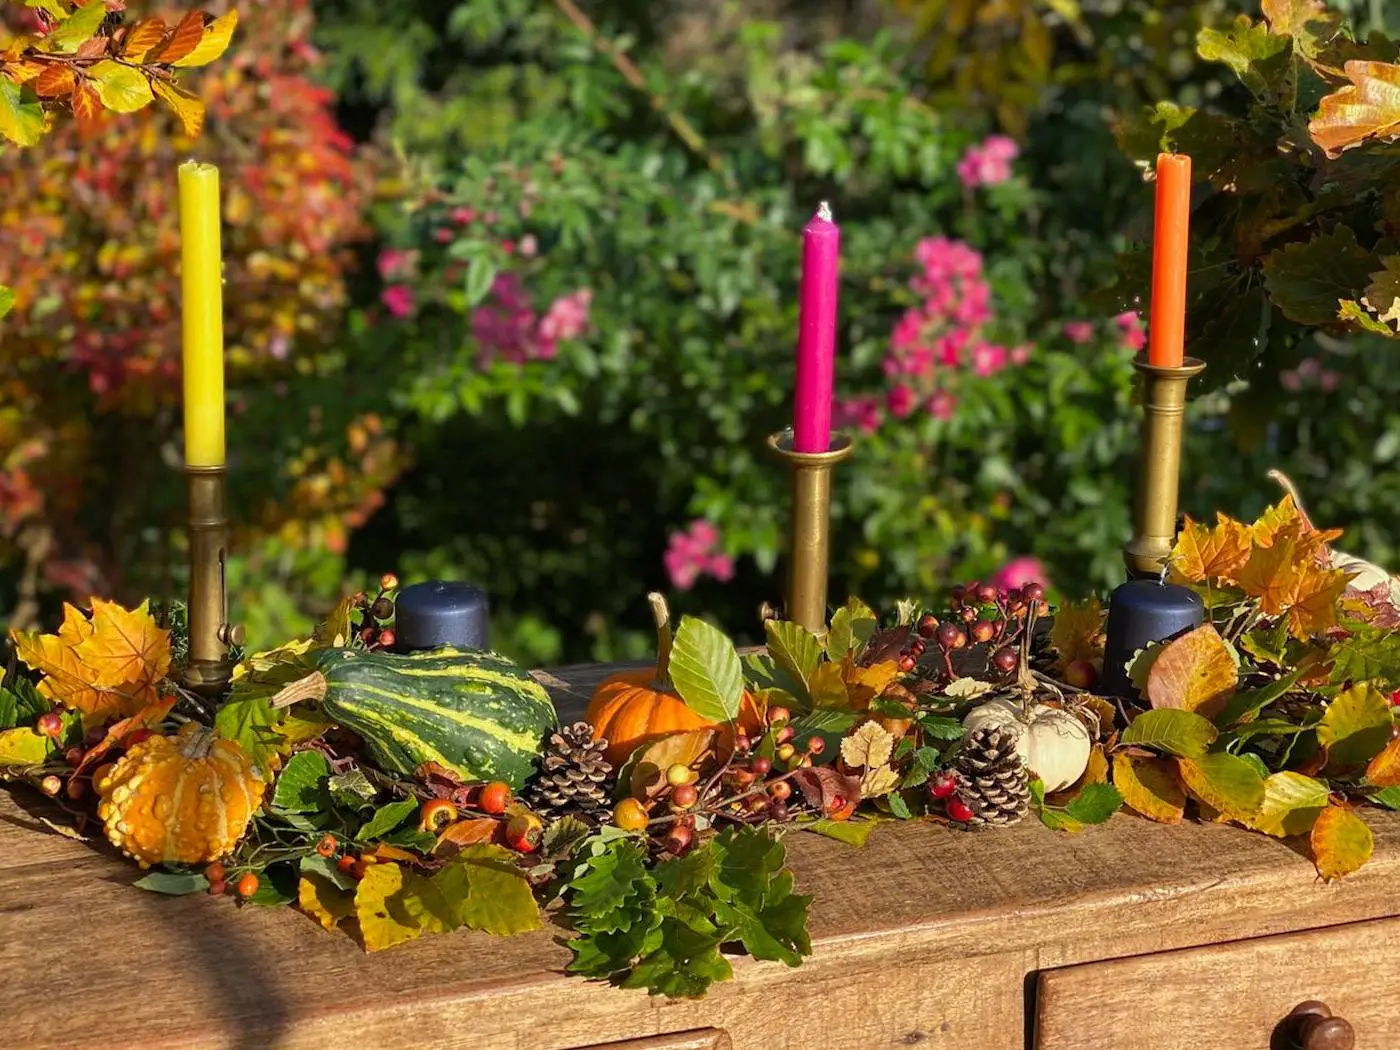
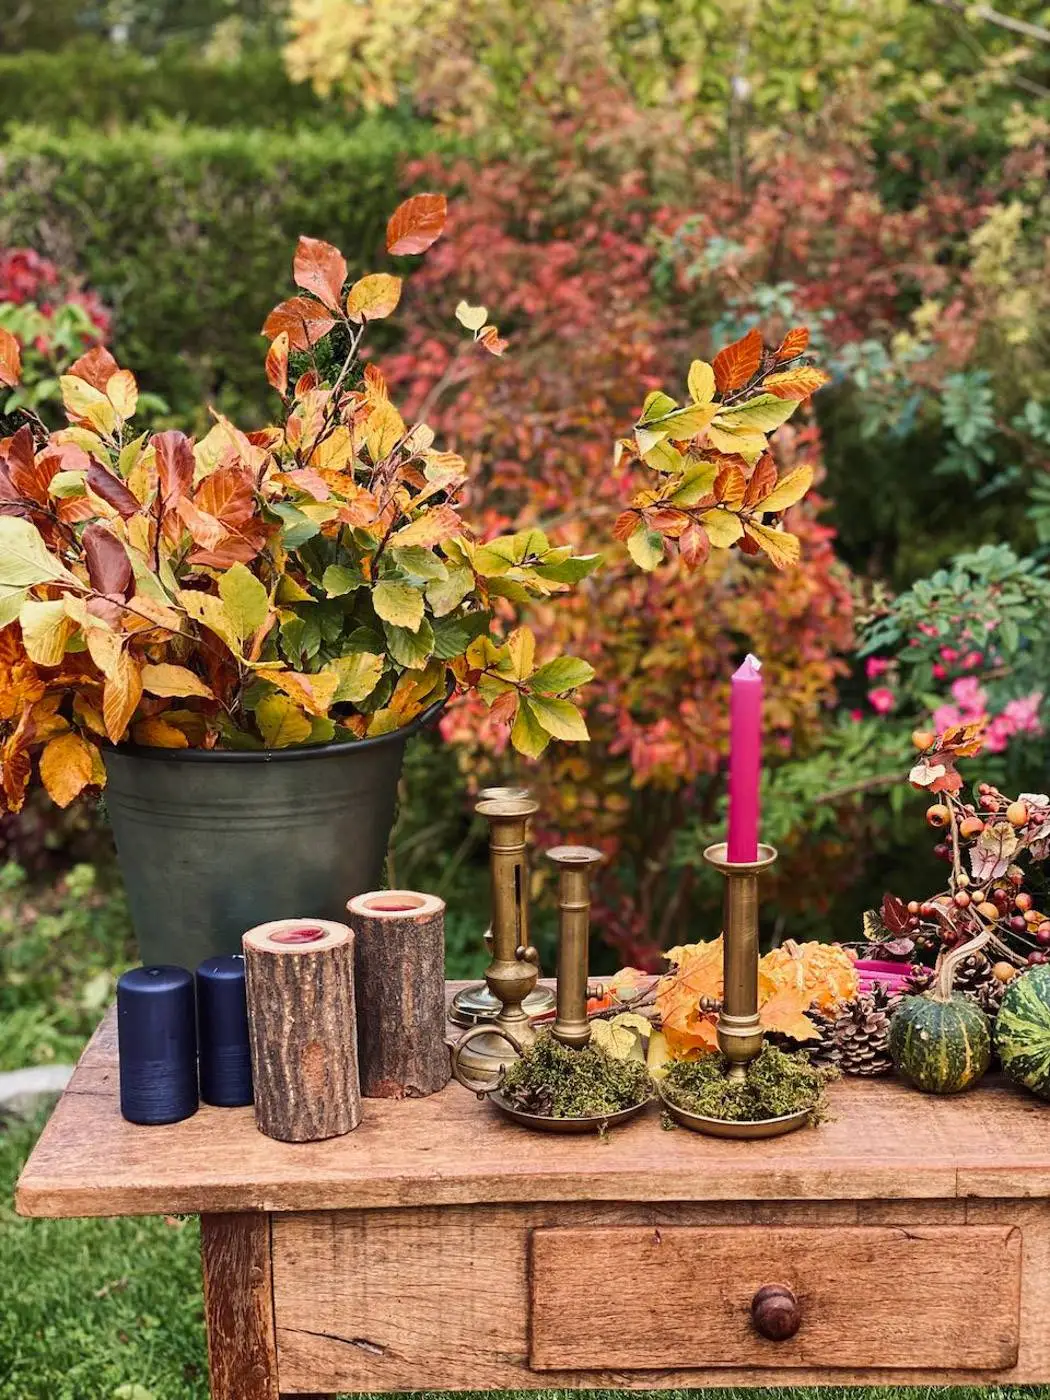
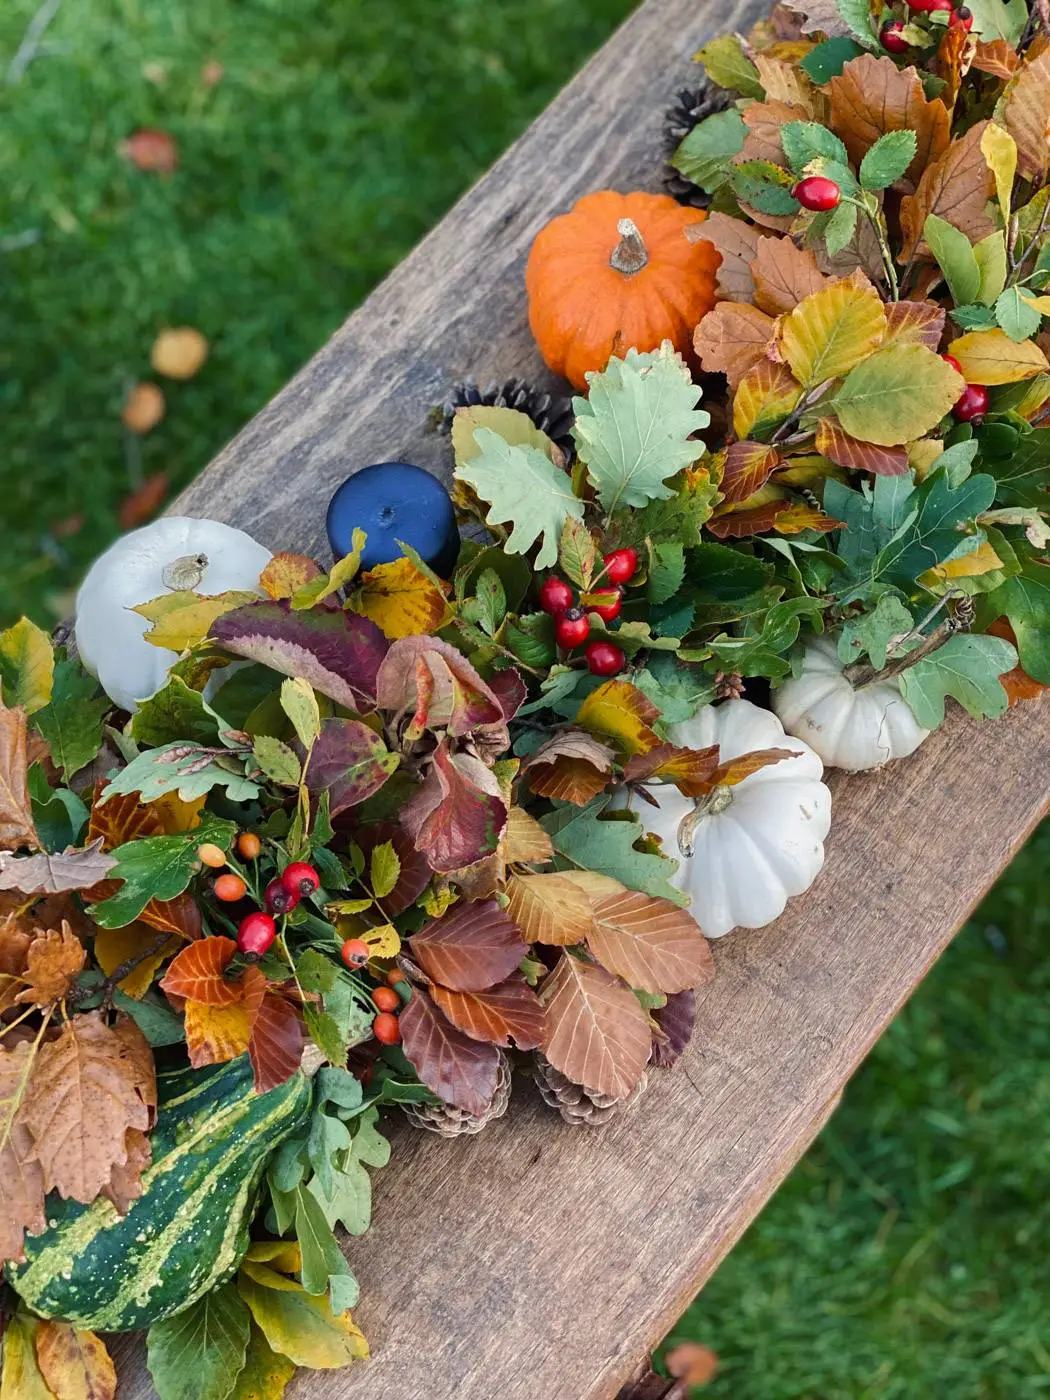
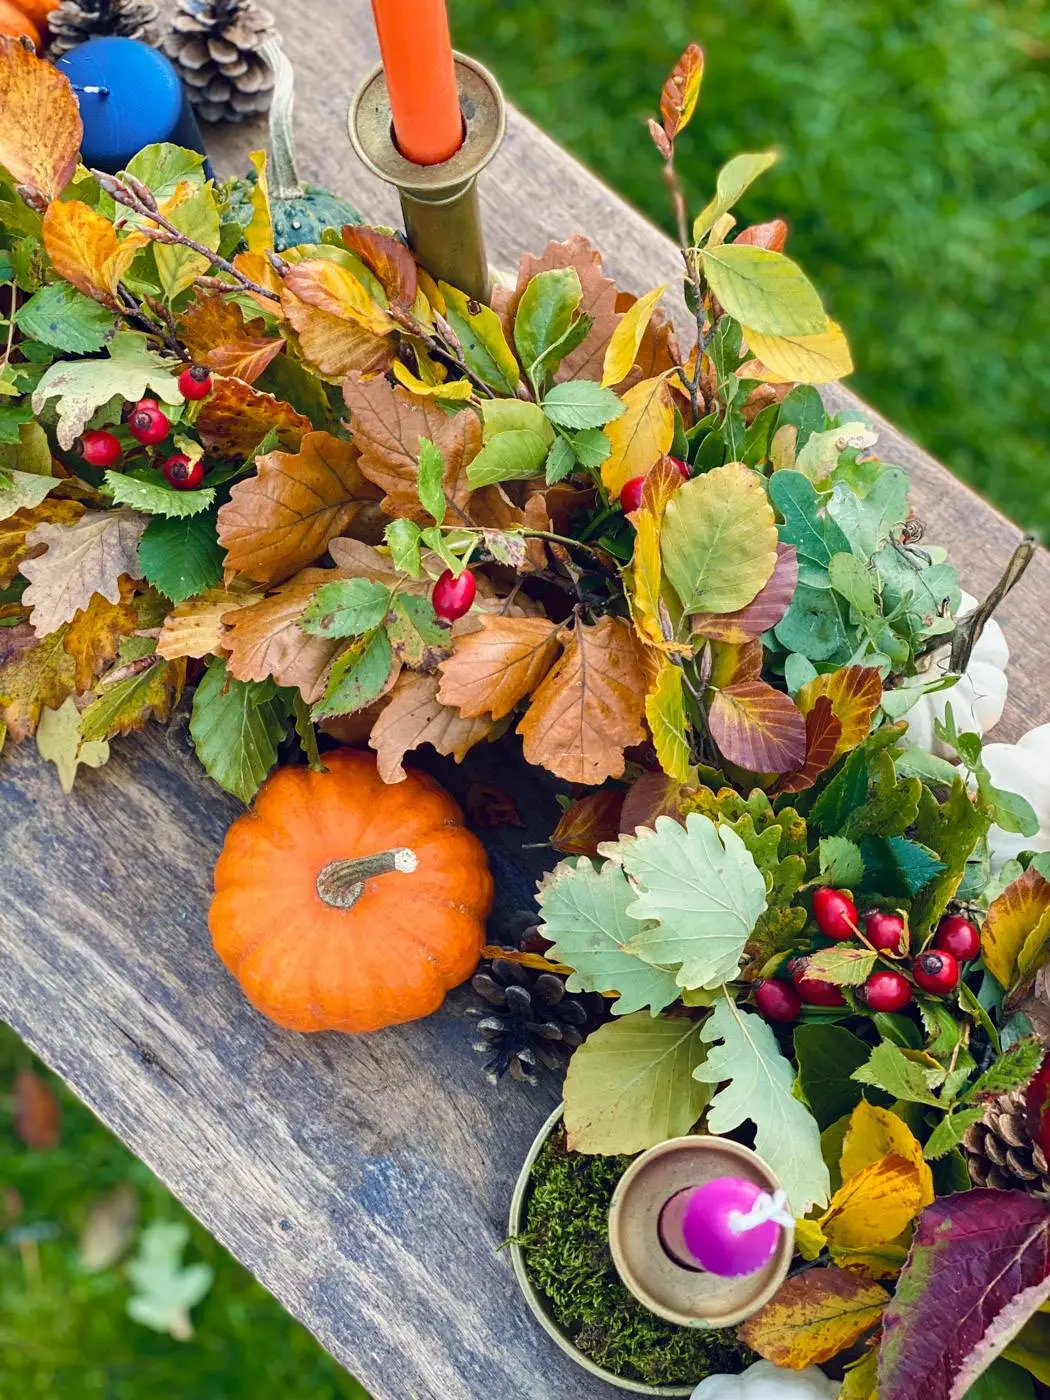
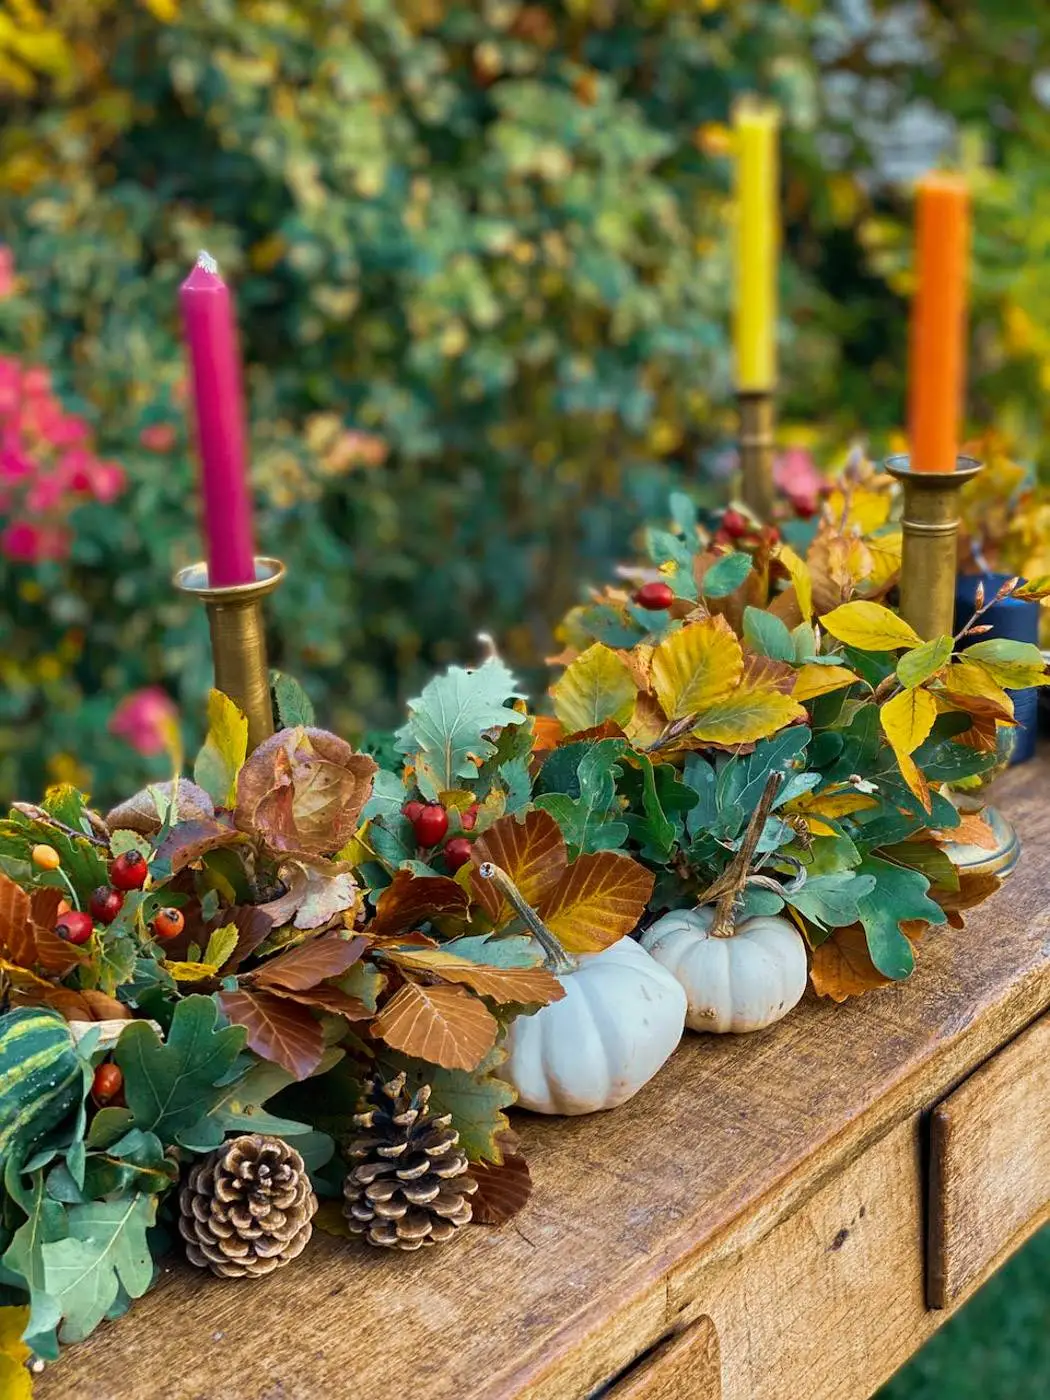
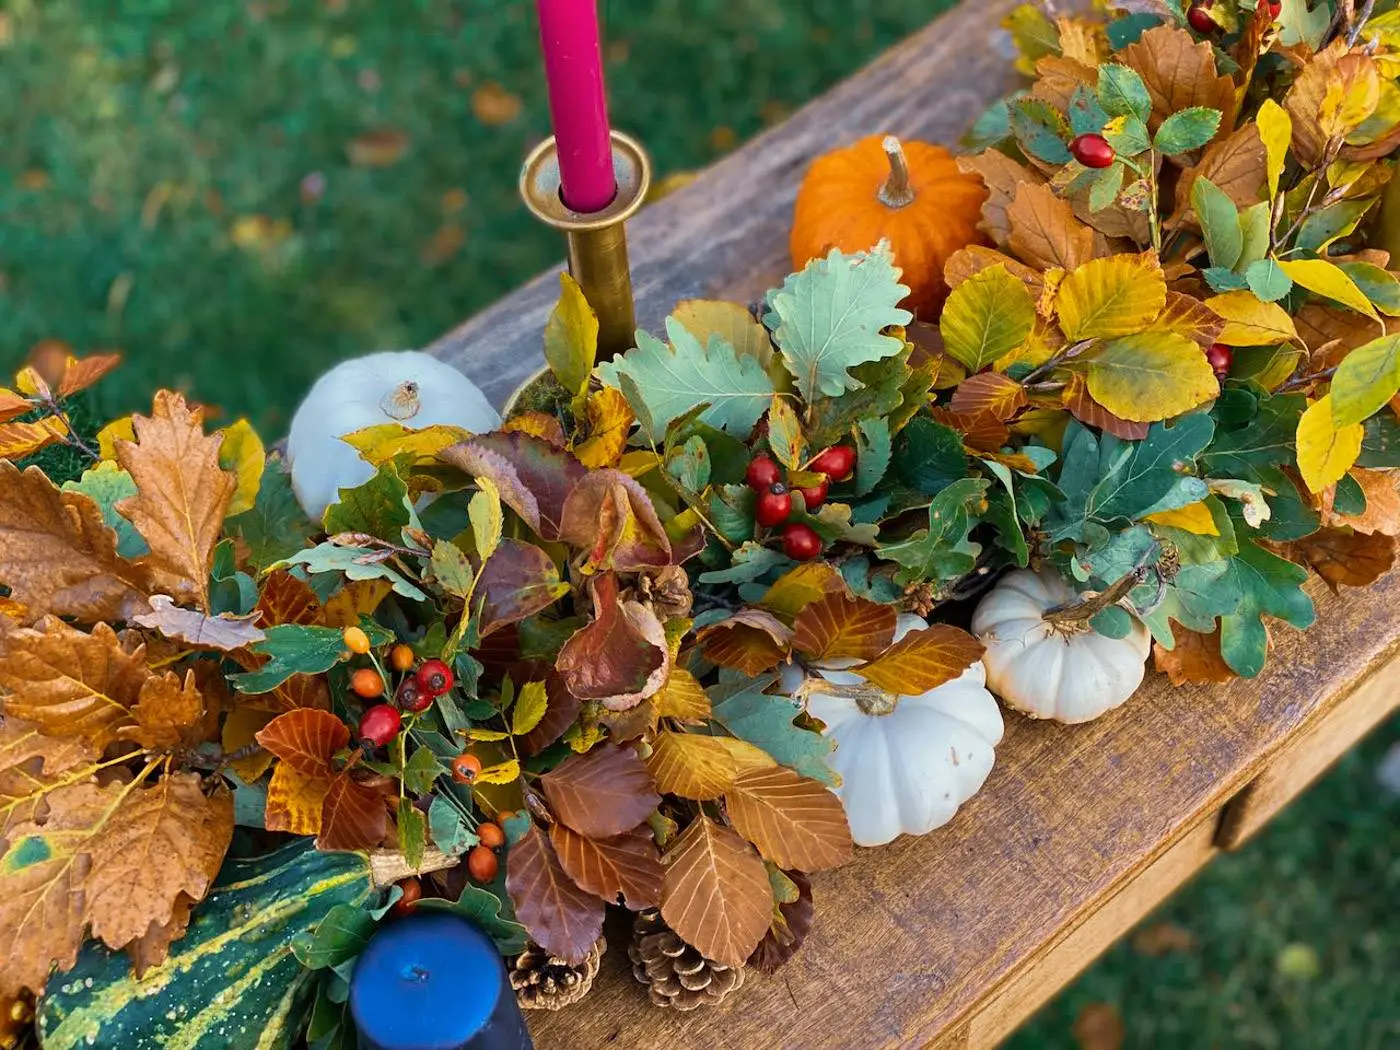
There’s something deeply comforting about creating with what nature offers as the seasons change. For a recent autumn table setting, I made a rustic centerpiece inspired by the soft, earthy colors and textures of fall: a simple way to bring a poetic, seasonal spirit to the table.
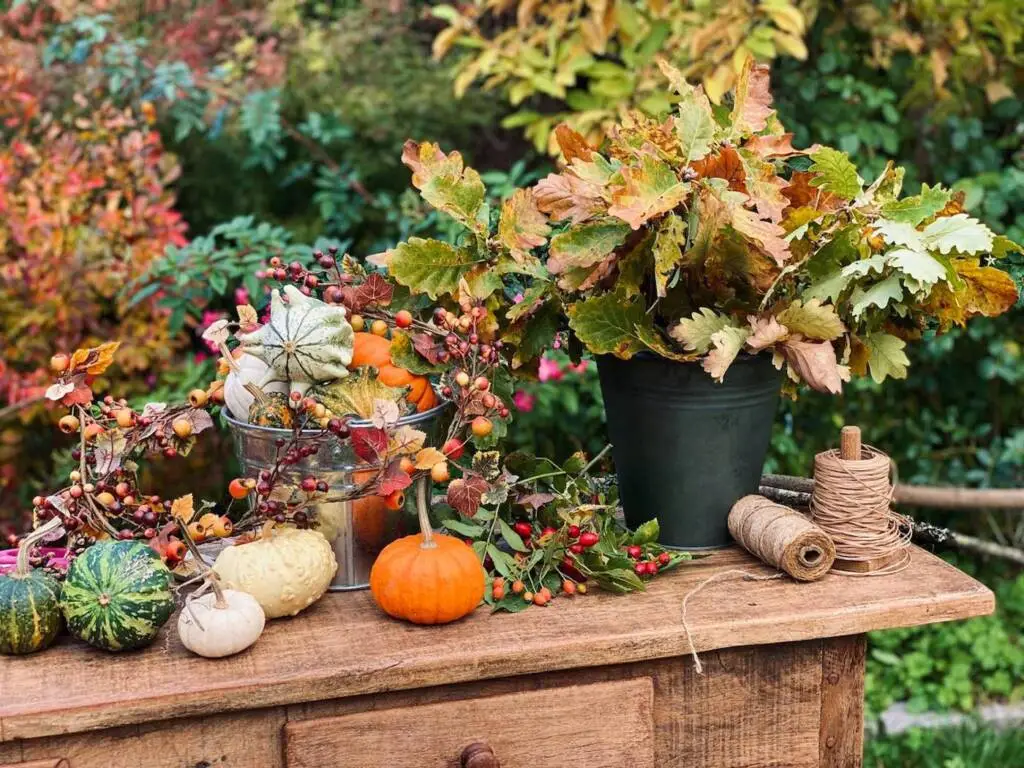
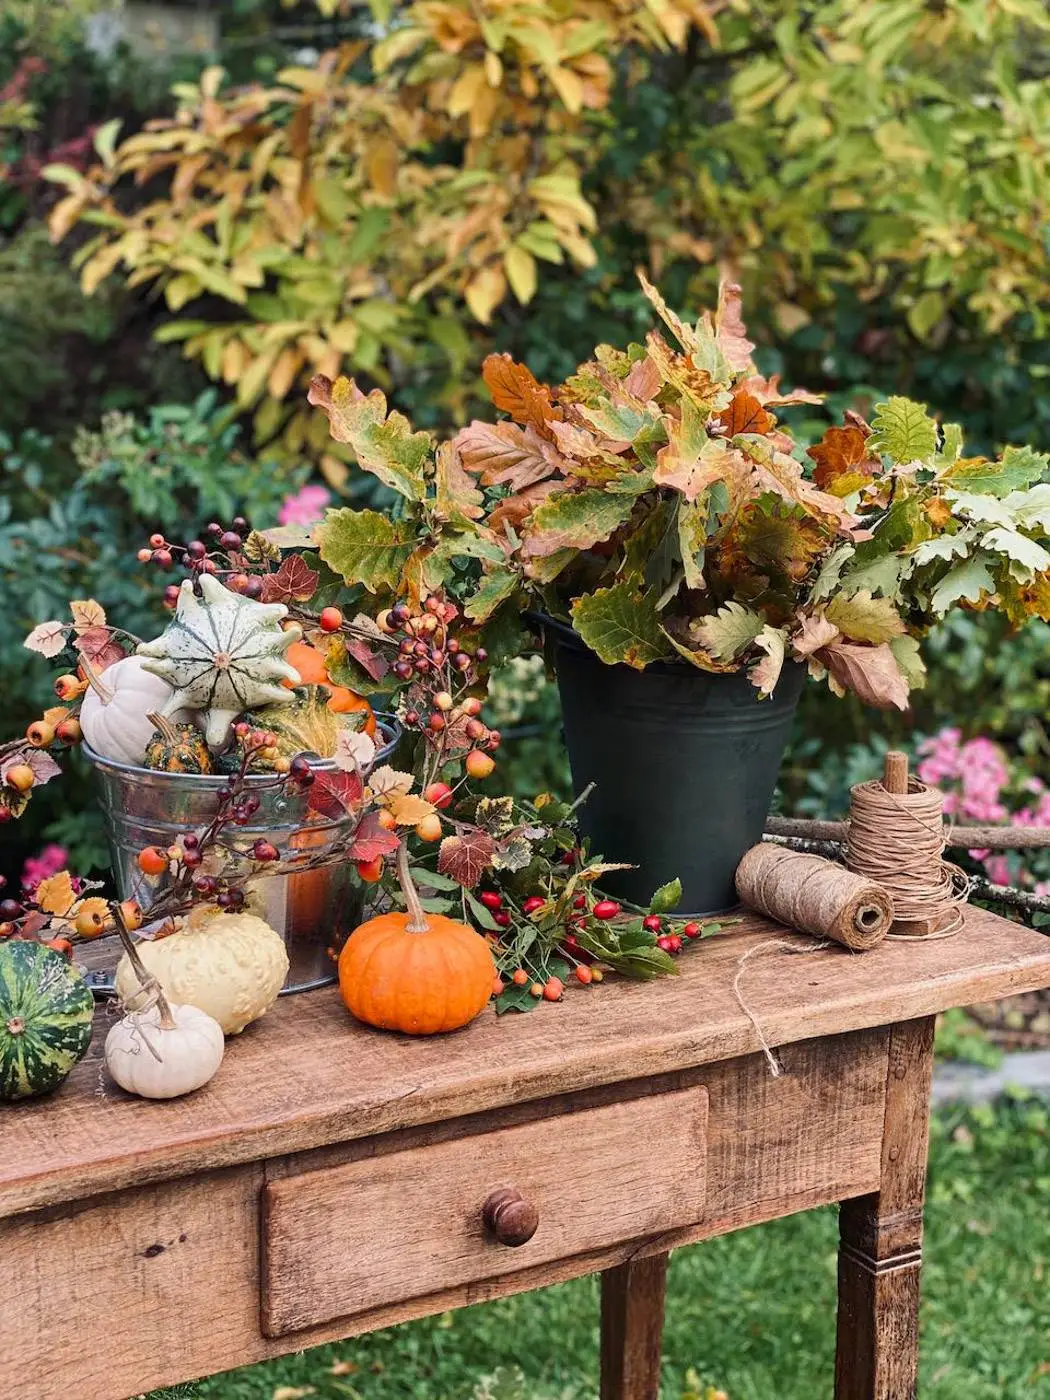
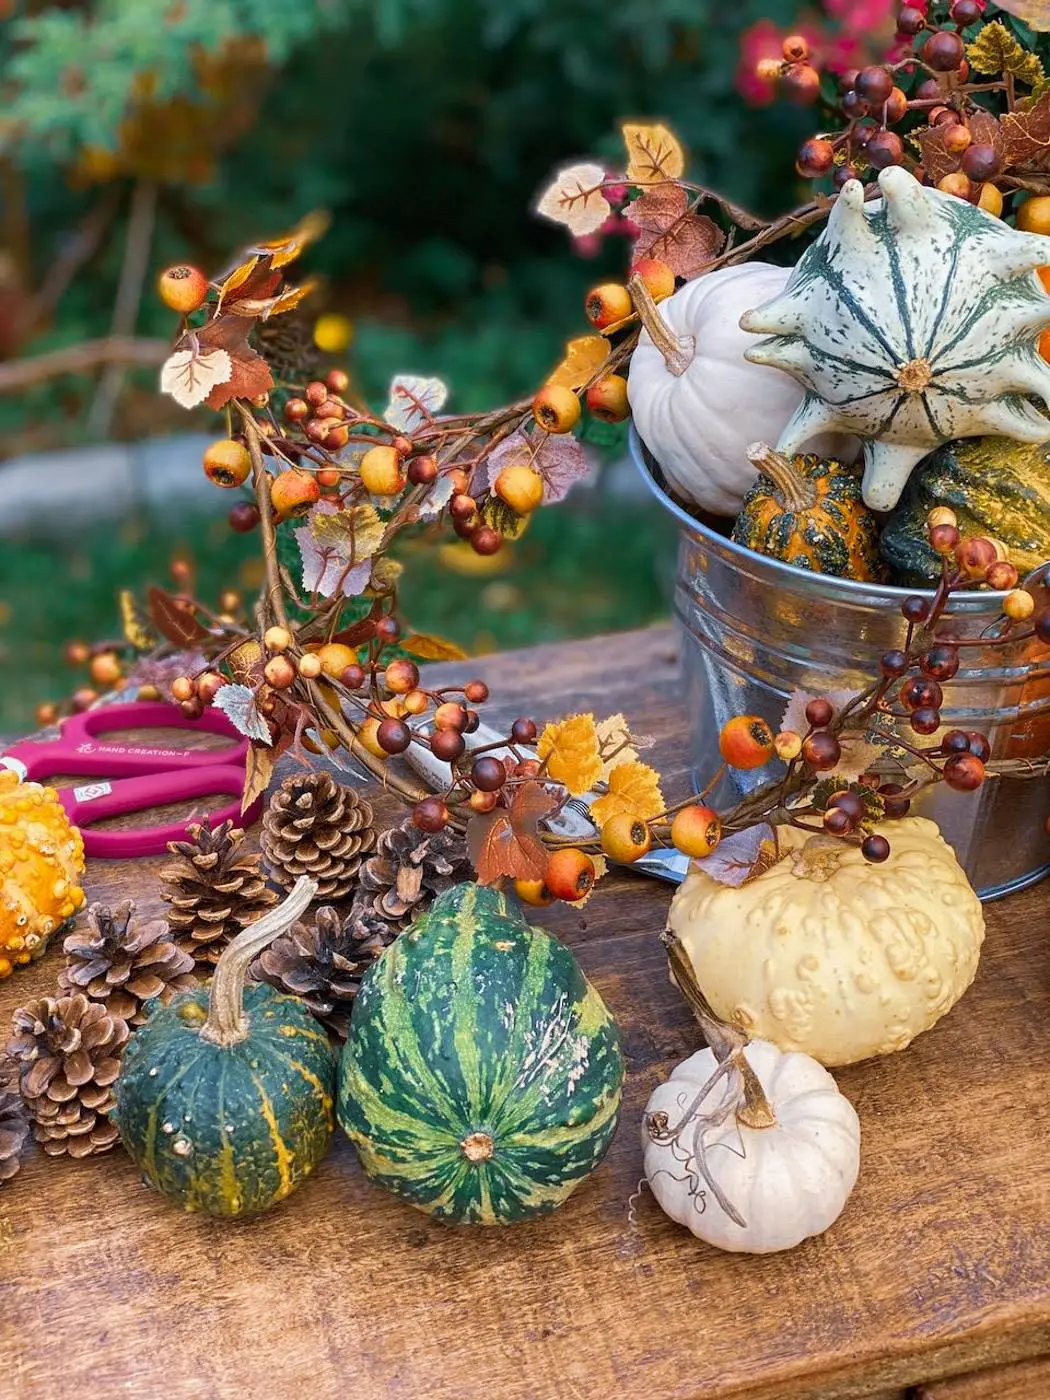
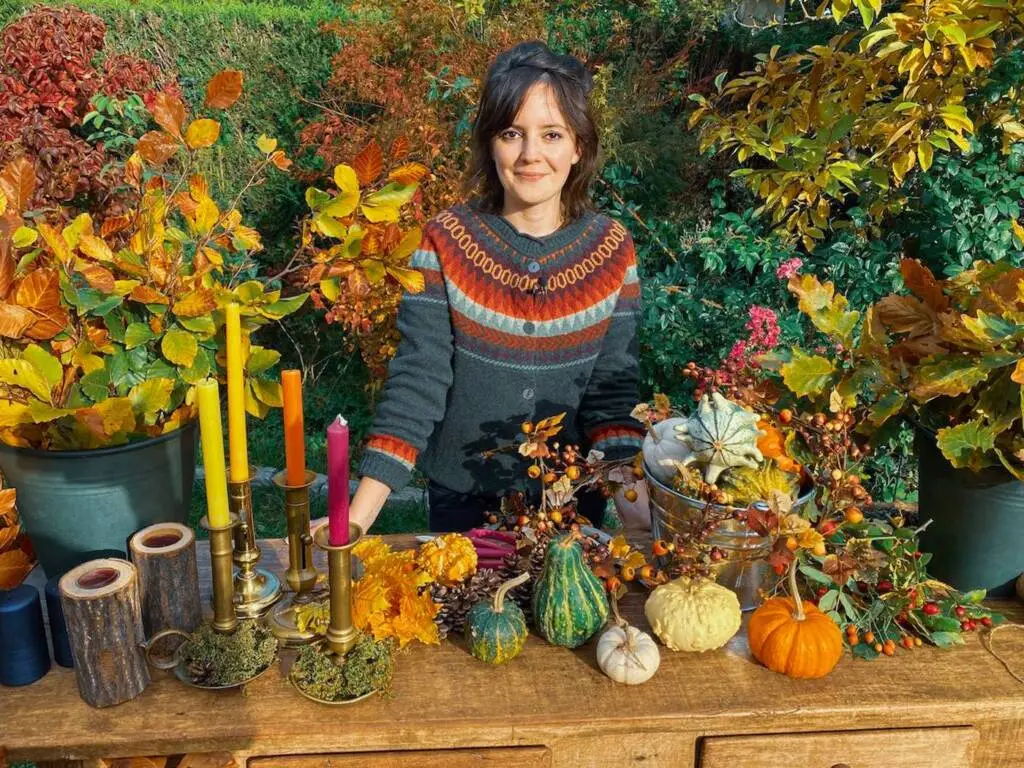
While I often use bouquets to decorate my tables and interiors, I love taking extra time toward the end of the year to craft pieces that feel a little more intentional, arrangements that seem to gather the essence of the season itself. Creating a natural fall centerpiece is easier than it looks, and here (and in the video) I’ll guide you through the process step by step.