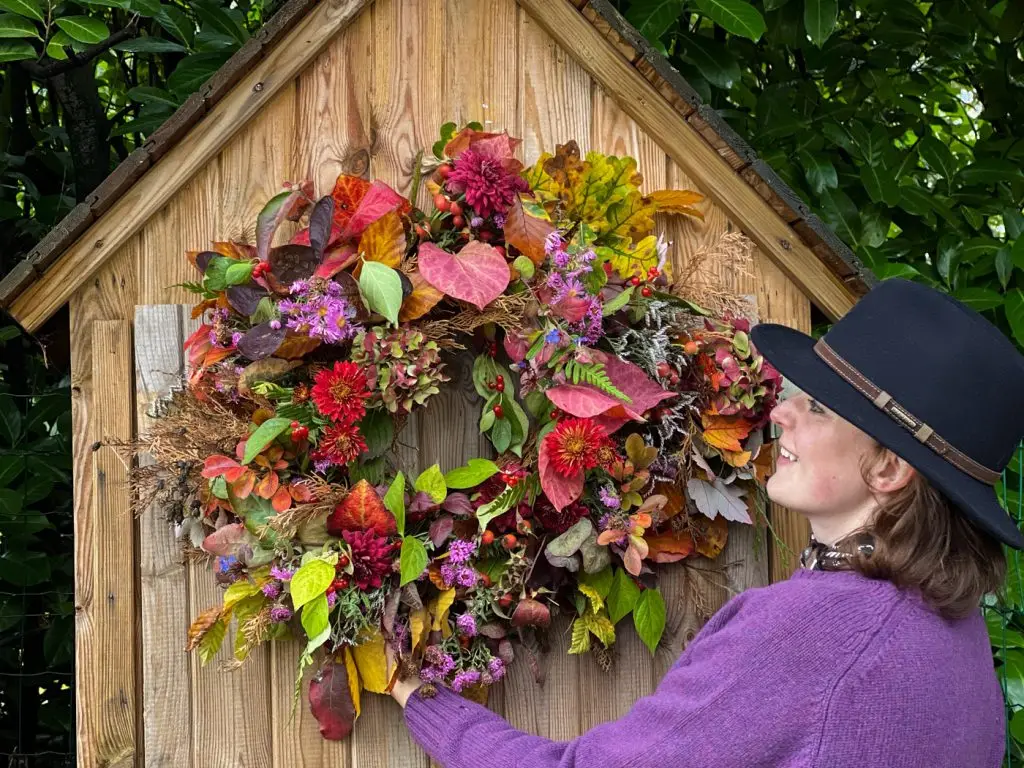
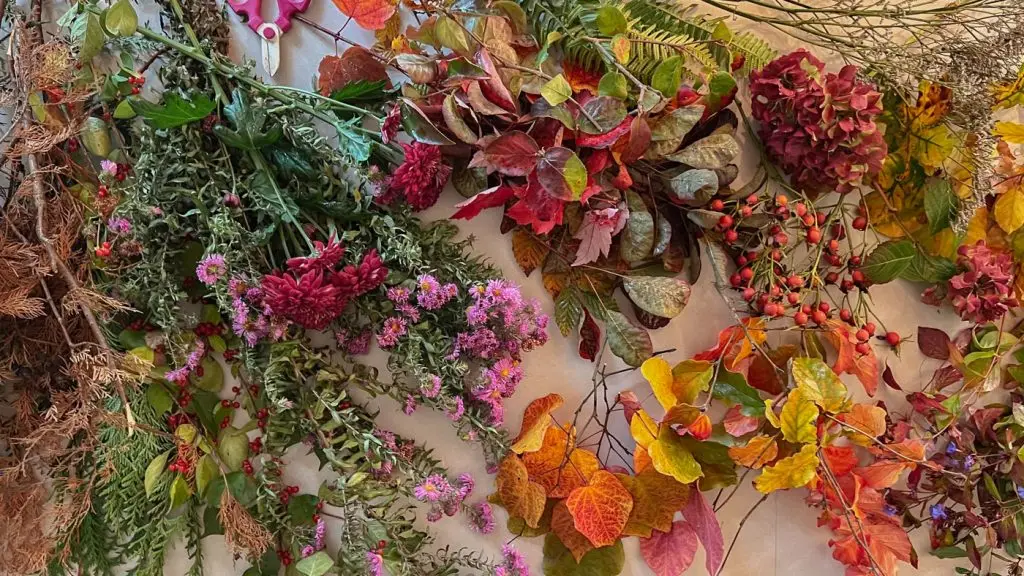
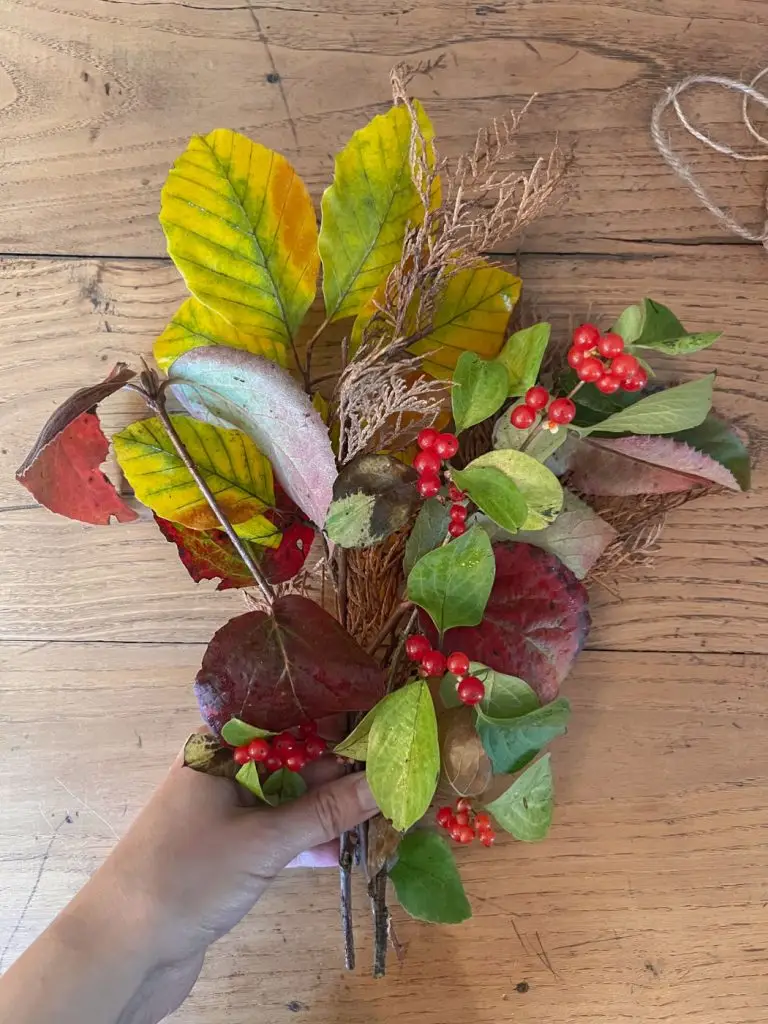
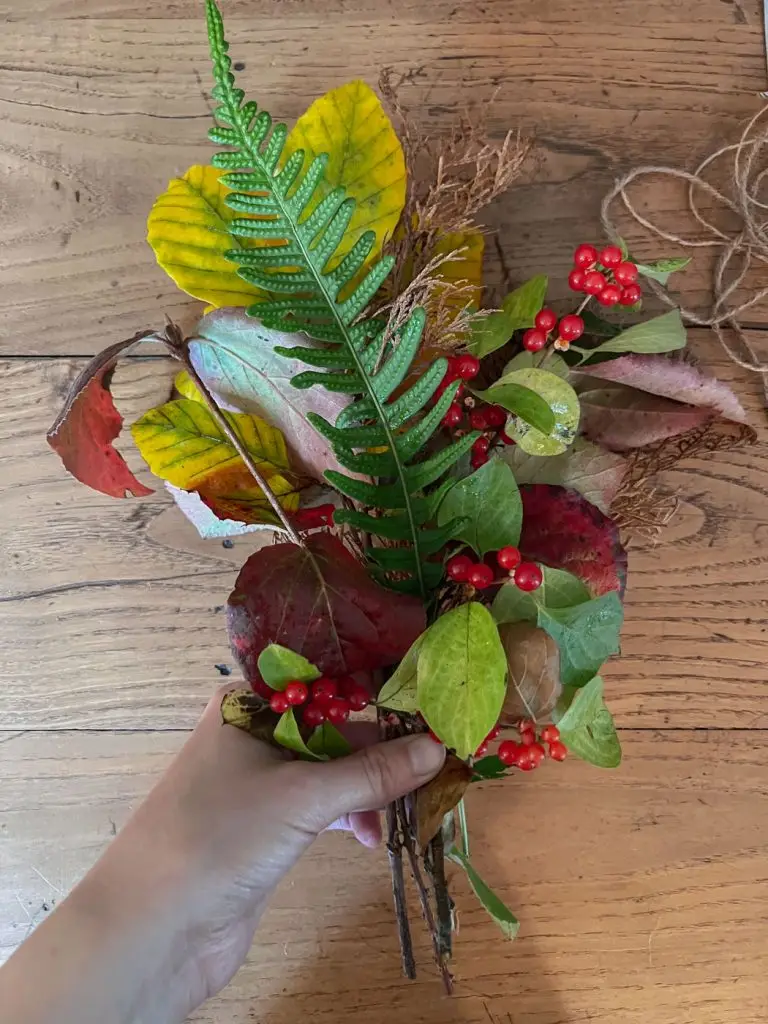
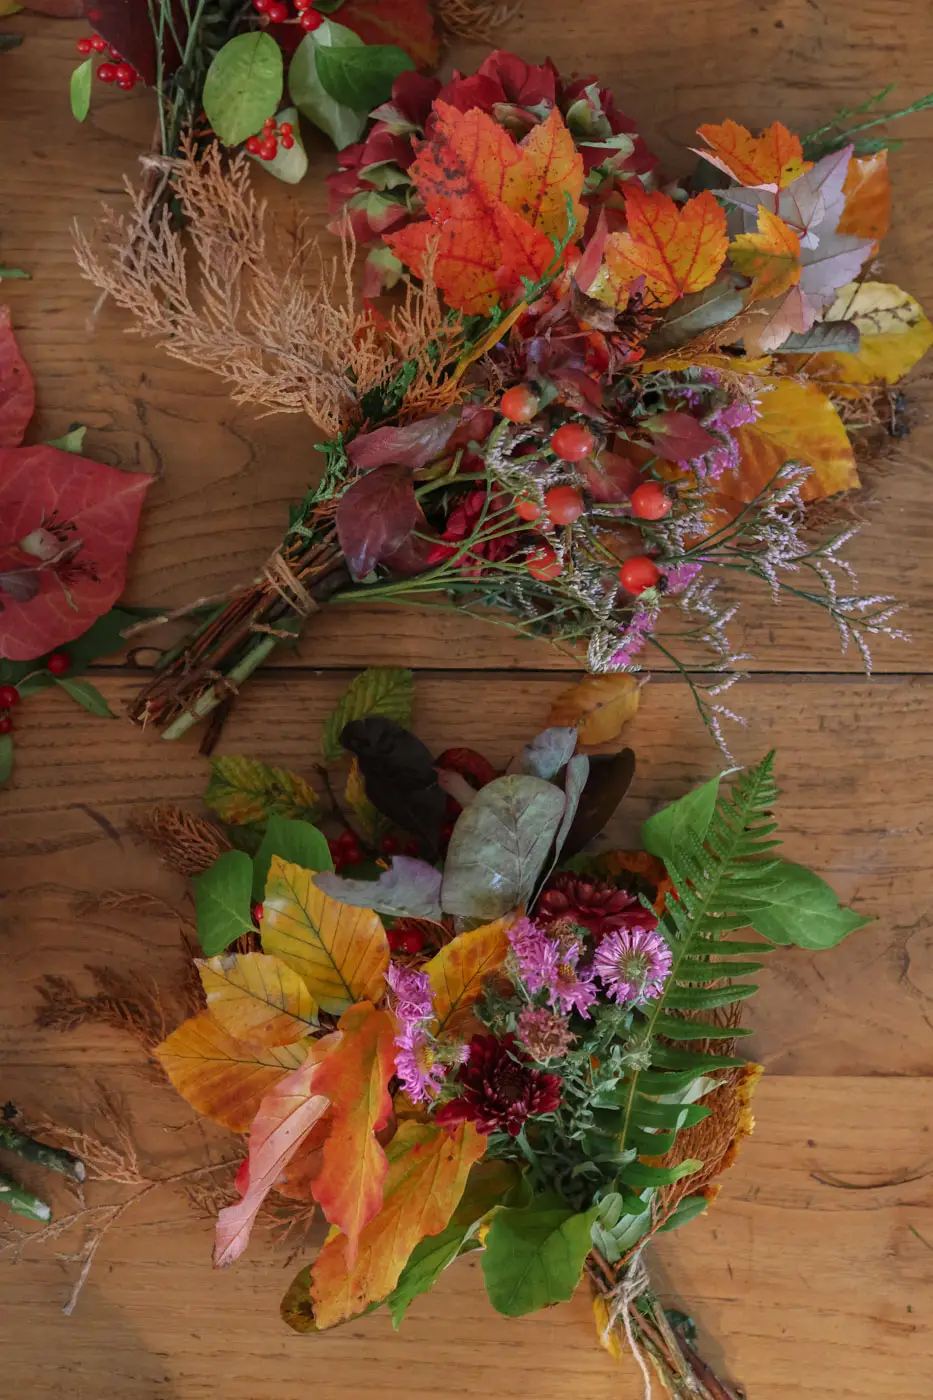
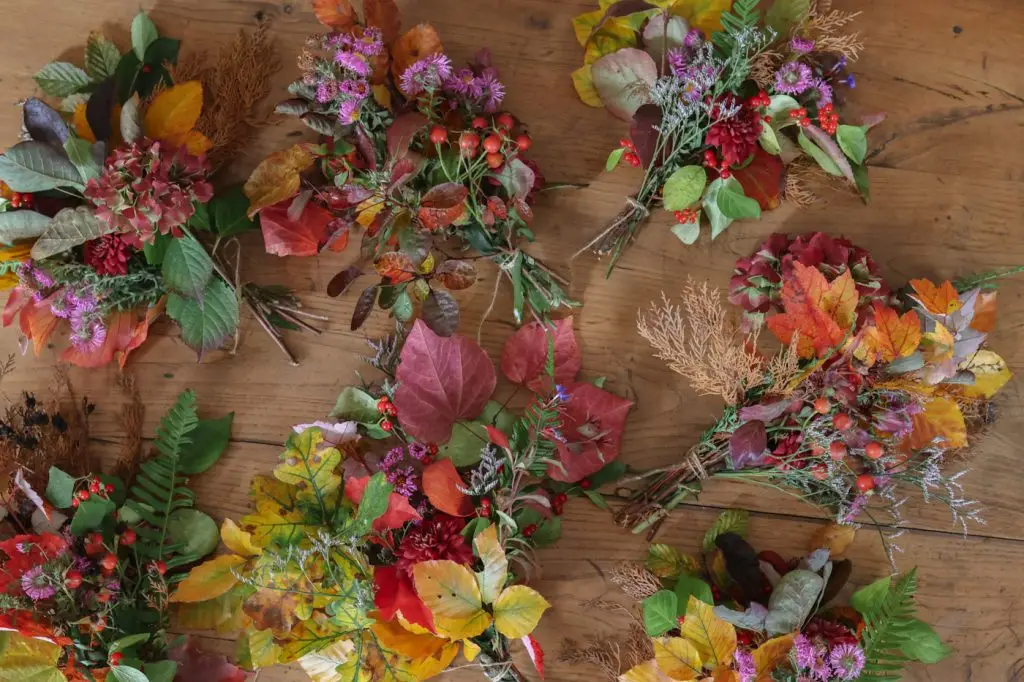
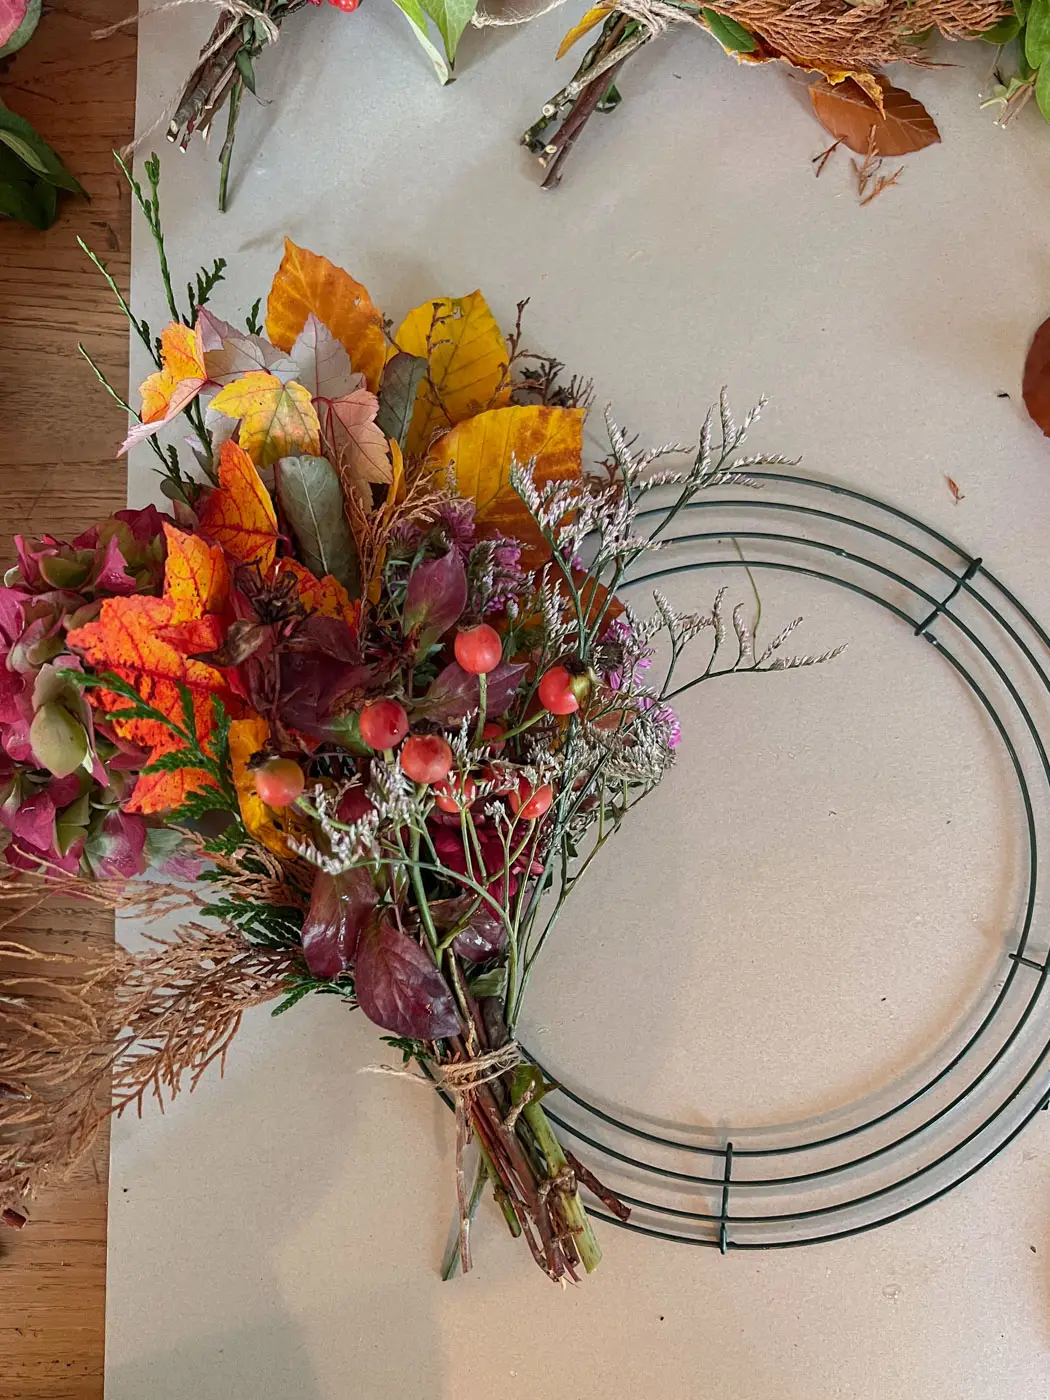
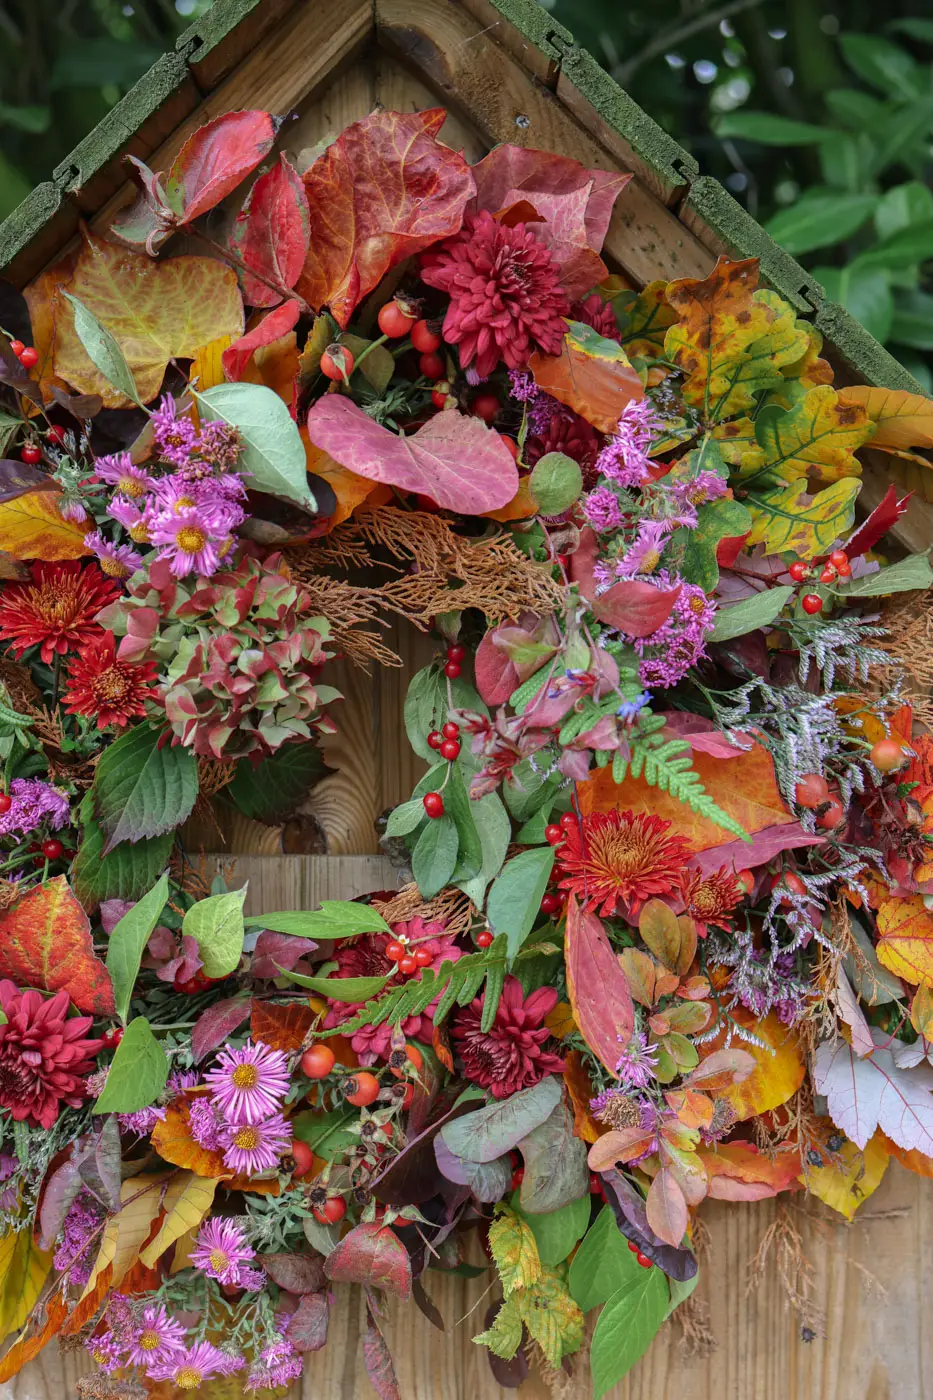
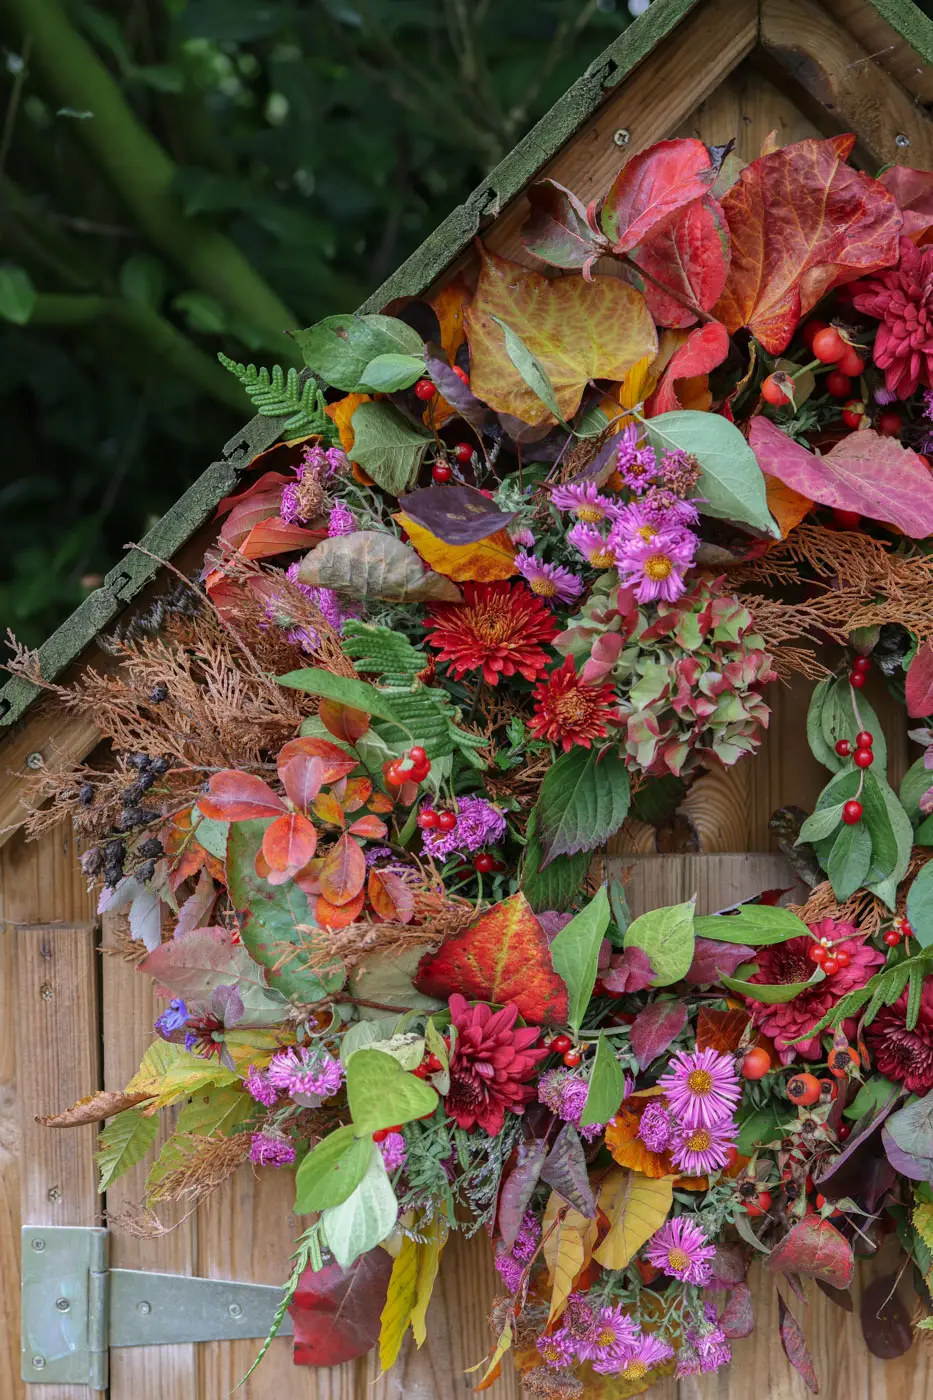
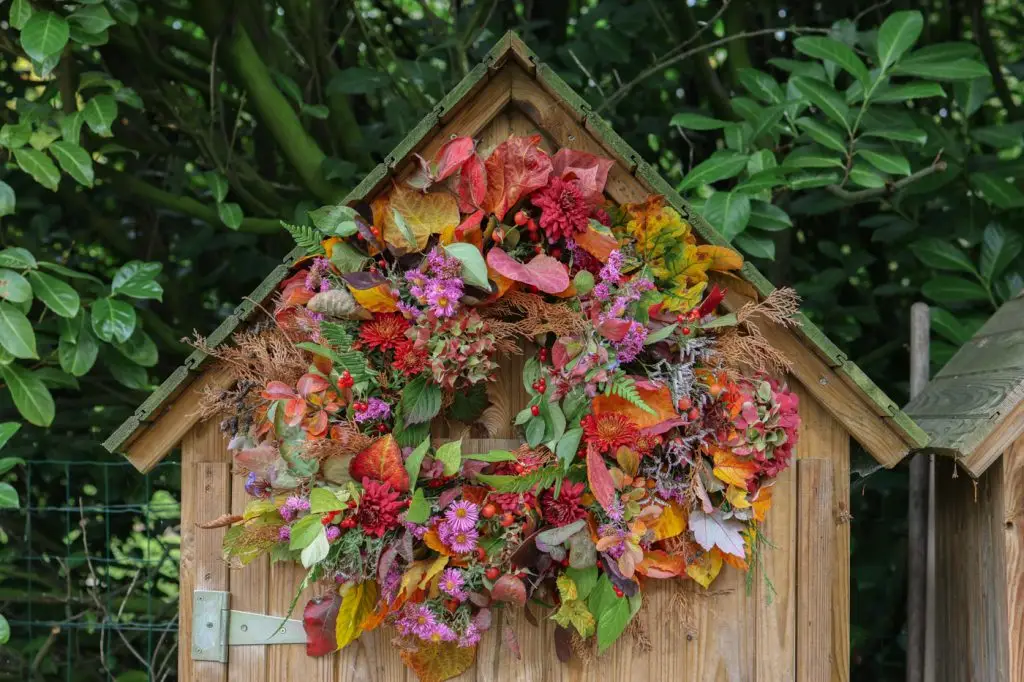
It was about time autumn finally made an appearance! And yet, I still feel as though it’s teasing us a little, stretching out a long, golden Indian summer that refuses to fade away. Some trees began changing colour a few weeks ago, but the leaves in the woods are still slow to turn properly yellow and orange. In the garden however, the sweetgums and the Canadian and Japanese maples are already glowing in deep reds and warm oranges, which is a real pleasure to admire. The dahlias and zinnias are still holding on too, now joined by cheerful chrysanthemums and asters that bring another burst of vivid tones to the flowerbeds. Surrounded by all these beautiful colours, I felt inspired to create a wreath that would be both joyful and a little rustic.
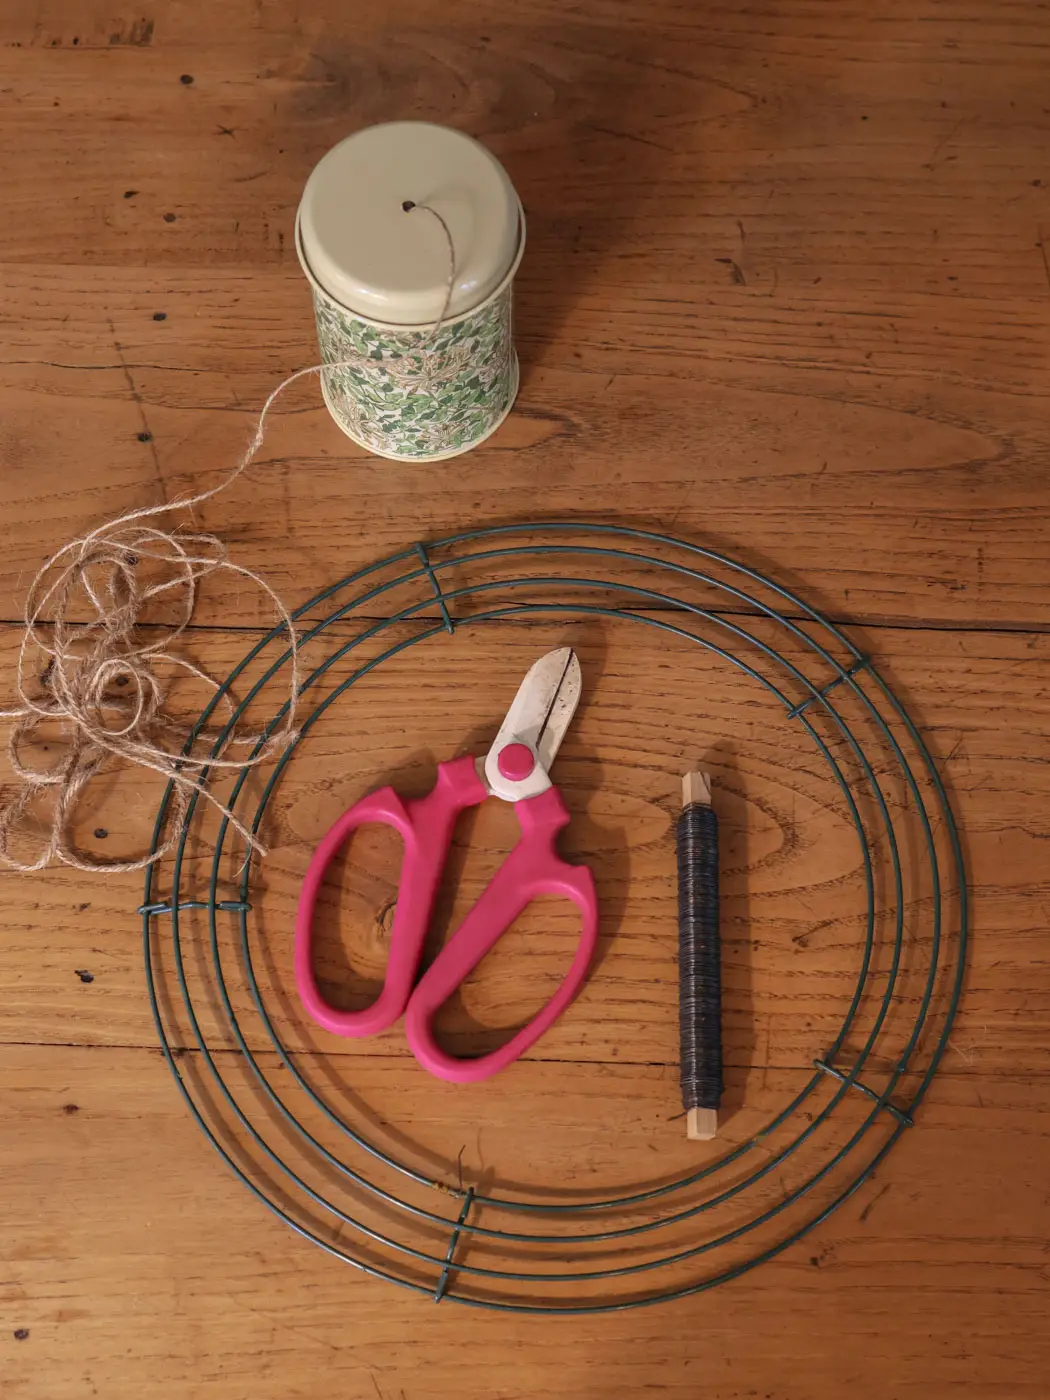
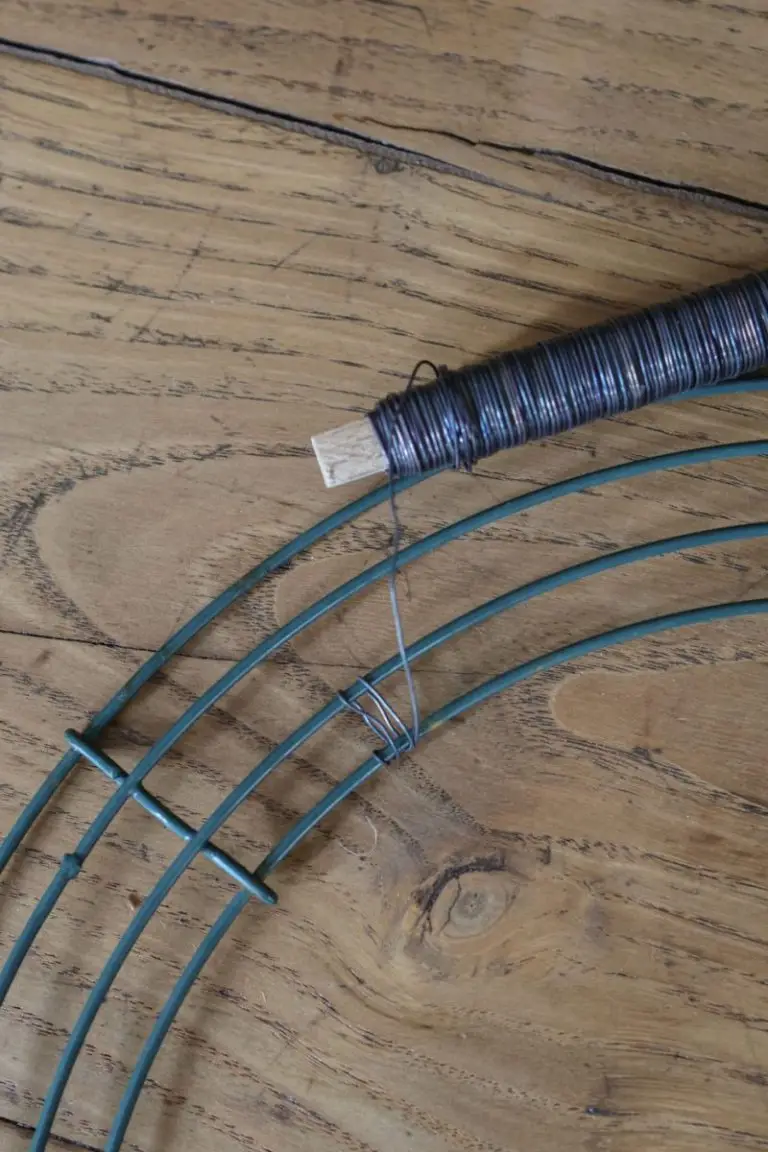
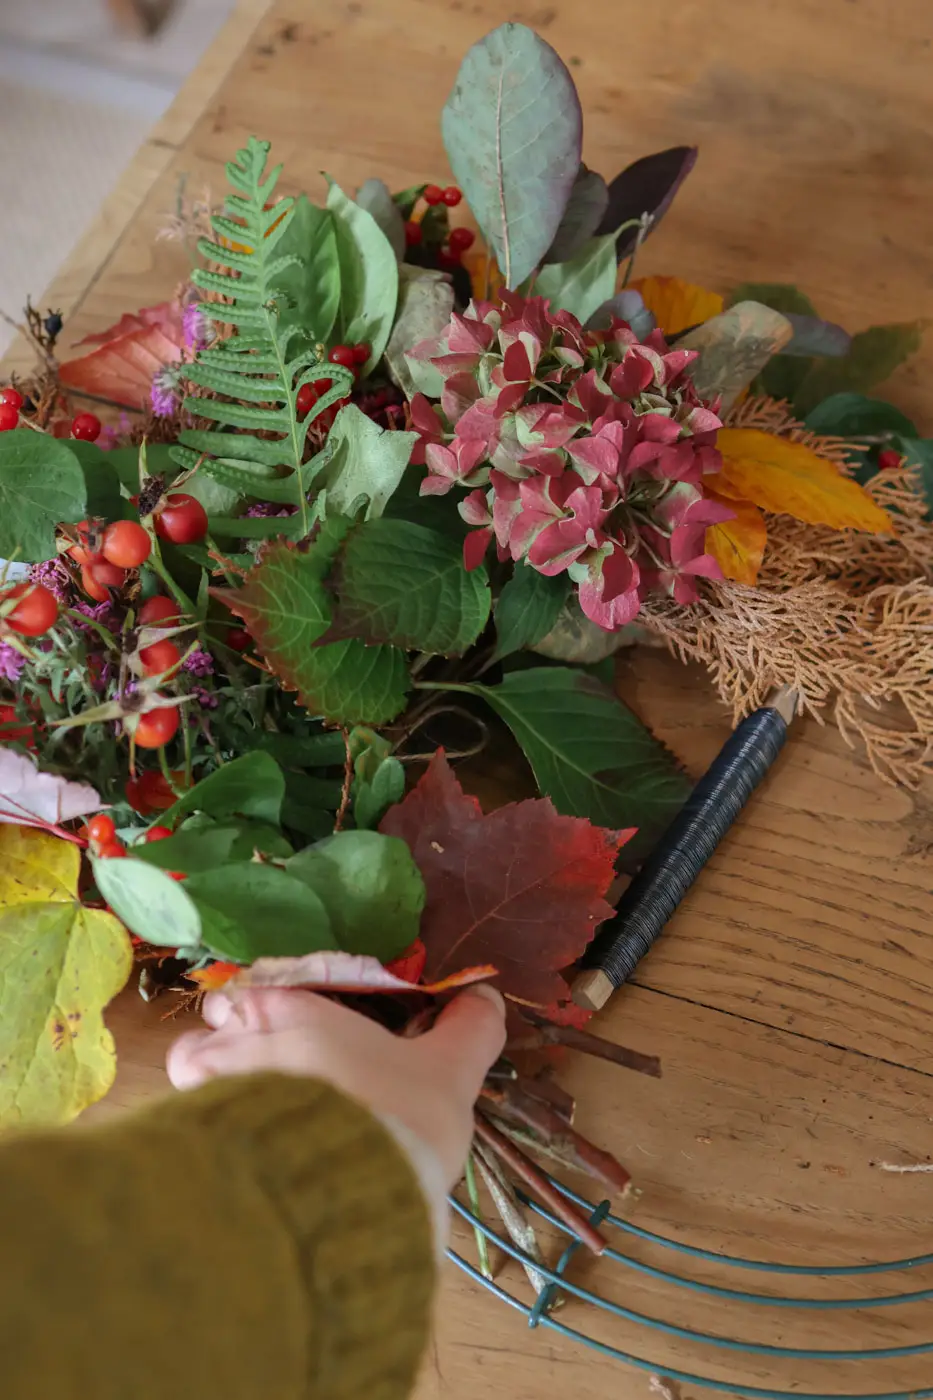
So today, I’m sharing this natural and colourful autumn wreath, made entirely from what I gathered in the garden: simple materials, but a result I love.
In the instructions below, you will find useful steps, especially with this type of circular metal base. What seemed more useful here however, was to share the list of the flowers and foliage I used, and to show what a wreath looks like when composed of lots of small, individual bouquets, each one slightly different from the next.
- Branches of Cercis canadensis ‘Forest Pansy’
- Oak branches
- Beech branches
- Lagerstroemia branches
- Dried cypress branches
- Ferns
- Rose hips
- Hydrangeas (such as ‘Ruby Red’ or ‘Merveille Sanguine’)
- Chrysanthemums (variety Brennpunkt)
- Asters
- Sweetgum leaves
- Honeysuckle foliage
- Limonium
- Maple leaves (Acer rubrum or ‘Fairview Flame’)
Steps for this autumn wreath tutorial
Materials
- A circular metal wreath base
- Floral wire (easy to find in garden centres)
- Jute or linen string
- Pruning shears
Step 1
I always begin by securing the floral wire firmly to the base. I then keep unrolling it gradually as I position the small bouquets one next to the other, tightening them at stem level with the wire.
You should never cut the wire while working: keep it continuous until all the bouquets are fixed in place.
Step 2
I prepare around ten medium-sized bouquets (about 25 cm long), combining the different leaves, branches, berries and flowers selected beforehand. I remove all leaves or thorns from the lower part of each stem, then tie everything together with a small piece of string at the base, as you can see in the photos.
Step 3
Because I wanted a wreath that felt natural and a little wild, each bouquet is different: some include ferns, others maple leaves or rose hips; some feature hydrangea heads, others chrysanthemums… Don’t be afraid of colour, contrast and texture: each little bundle becomes a miniature arrangement in itself, a tiny burst of colour.
This is truly the most enjoyable part of the whole process!
Step 4
Start by attaching the first bouquet onto the base with the wire, wrapping it two or three times quite tightly. Trim any excessively long stems if needed. The next bouquet rests slightly over the stem base of the previous one, so the binding is hidden. Keep the bouquets close together: you’ll quickly realise you need more of them than you might think to complete the wreath.
Step 5
Continue in the same direction until you reach the last bouquet, which I usually place facing the opposite way to create a small opening for a decorative ribbon, or simply to make it easier to hang. Here, I preferred a more natural look and simply hung the wreath by placing the metal base on a hook.
Et voilà ! It is ready to decorate a garden gate, a front door, a garden shed or even the inside of the house (it will dry a bit faster indoors, but you’ll enjoy it just as much).
Making a wreath is not complicated once you have the right tools; the rest is all imagination and creativity. What I love most is that no two wreaths are ever the same: each one reflects a moment, a mood, and the gathering that inspired it. It’s a soothing and deeply satisfying activity, and even lovelier to share. If you’re lucky enough to have a garden or a nearby woodland, invite friends or family, spend an afternoon together gathering materials, and enjoy it with a good cup of tea or coffee and a homemade apple cake.


